


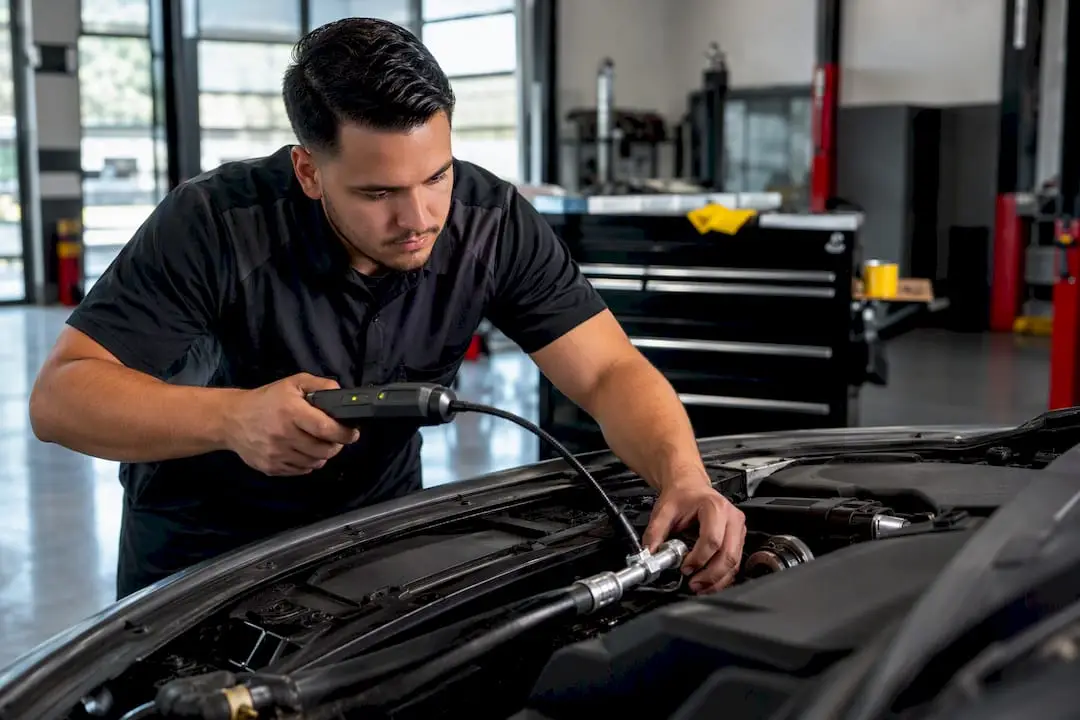
You can run a few safe, noninvasive checks that suggest an AC refrigerant leak, but recovery and recharging must be done by technicians certified under EPA Section 609. Look for oily residue near fittings, warm air from the vents, or a positive UV dye reading. Once you suspect a leak involving R-134a or HFO-1234yf, stop there and bring the car to a shop like Kwik Kar for proper diagnosis and repair.
TL;DR:
- Visual inspections can identify oily residue at fittings or condensers, but UV dye or soap-bubble tests are more reliable for slow or hidden leaks.
- Handling refrigerant recovery and recharging requires EPA-certified technicians, and DIY attempts should be limited to basic checks with proper documentation.
- Fixed leak repairs, such as replacing hoses or condensers, are performed after pressure tests and confirmed by vacuum or nitrogen pressure tests in certified shops.
- Detecting refrigerant leaks involves multiple methods, with electronic sniffers and UV dye tests offering differing sensitivity and reliability.
- Proper diagnosis and repair by licensed professionals are essential, as DIY recharge risks violating EPA regulations and missing hidden leaks.
Table of Contents
- 1. Common leak detection methods for your car’s AC
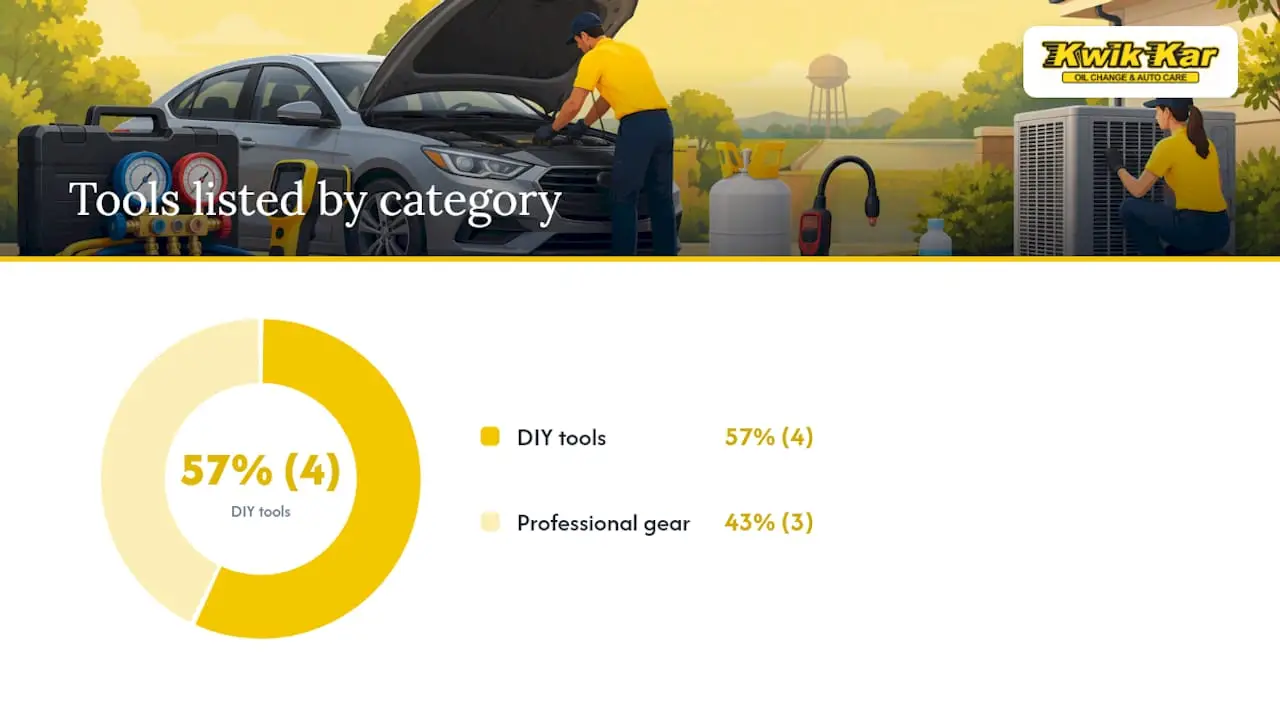
- 2. Equipment you may need: DIY tools vs. professional gear
- 3. Step-by-step DIY checks you can do safely at home
- 4. What shops do to verify and fix leaks
- 5. Regulatory rules you need to know before doing anything yourself
- 6. Cost, timeline, and when to stop and call a pro
- 7. Best practices and prevention tips
- 8. Why we recommend certified diagnosis over guesswork
- 9. Let Kwik Kar of Celina diagnose and fix the leak
- Sources
- FAQ
1. Common leak detection methods for your car’s AC
Most leaks show up through one of five detection approaches, and knowing what each one actually tells you helps you avoid guessing.
Visual inspection is the simplest starting point. Leaks tend to collect at hose connections, fittings, the condenser in front of the radiator, and evaporator seams behind the dashboard, often leaving a faint oily film since refrigerant oil travels with the leak.
Pressure and gauge checks compare your system’s pressure against the expected range for its refrigerant type. A reading that’s too low points toward a leak, while other patterns can indicate a stuck valve or a compressor problem instead.
- Electronic detectors sniff for refrigerant vapor in the air, though sensitivity varies by tool and refrigerant type, according to The Home Depot’s guide to AC leak repair.
- UV dye tests work by circulating a fluorescent dye through the system so a black light can reveal slow or hidden leaks, per ISNweb’s leak detection overview, though the dye doesn’t guarantee it will reach every leak point.
- Soap-bubble tests are the cheapest option: spray a soapy solution on a suspected joint and watch for bubbles forming at the leak site.
2. Equipment you may need: DIY tools vs. professional gear
You can pick up a few tools for basic checks without touching refrigerant at all. A UV dye kit labeled for MVAC use, a UV flashlight, a bottle of leak-detection spray, and your phone’s camera cover most of what a careful owner needs to gather evidence before a shop visit.
- UV dye kit rated for automotive AC systems
- UV flashlight or blacklight for reading the dye
- Soap-based leak spray or a homemade soap solution
- Phone camera to document suspected leak points
Professional-only gear includes certified refrigerant recovery and recycling machines, high-sensitivity electronic sniffers, and nitrogen pressure test rigs, all of which require training to operate correctly and legally. Refrigerant type matters here too: R-134a and HFO-1234yf systems use different fittings and service ports, so a tool built for one won’t necessarily work safely on the other.
Pro Tip: Snap photos of any residue or dye glow you find before you wipe it away. It gives your technician a head start on diagnosis.
3. Step-by-step DIY checks you can do safely at home
Before assuming a leak, confirm the symptom itself: is the air genuinely warmer than it used to be, or could a dirty cabin filter or fan issue be mimicking the problem?
- Confirm the symptom. Run the AC on max and check if the vents blow noticeably warmer than when the system was new.
- Do a visual sweep. Check hoses, fittings, and the condenser for oily residue, then photograph anything suspicious.
- Run the soap-bubble test. Apply the solution to accessible joints and fittings, then watch for bubbles over a minute or two.
- Use a UV dye kit if you have access to one. Follow the kit’s instructions closely, and stop there: do not attempt to recover, vent, or recharge refrigerant yourself.
- Document everything. Write down when the cooling loss started, what you found, and bring your photos to the shop.
This sequence gives a technician a real head start without putting you at risk of mishandling refrigerant or damaging the system further.
4. What shops do to verify and fix leaks
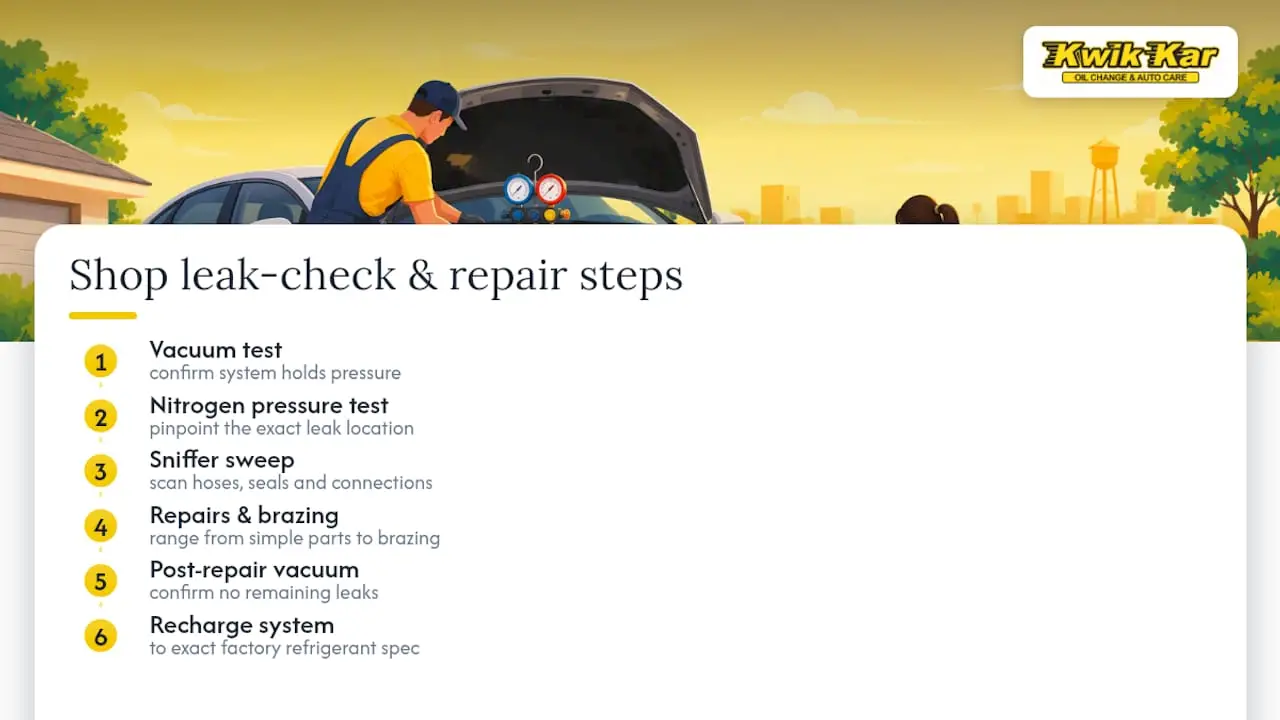
Certified shops start with a vacuum test to confirm the system holds pressure, sometimes followed by a nitrogen pressure test to pinpoint the exact leak location. A sniffer sweep across hoses, seals, and connections narrows things down further.
Repairs range from a simple hose or clamp replacement to a full condenser or evaporator swap, and the labor time depends heavily on which component failed and how accessible it is. Some jobs involve brazing, which takes longer and requires more precision.
Once the repair is done, the shop pulls a vacuum hold test to confirm there are no remaining leaks, then recharges the system to the exact factory specification for that refrigerant.
5. Regulatory rules you need to know before doing anything yourself
Federal rules draw a hard line around refrigerant handling, and they exist for real safety and environmental reasons, not just paperwork.
Anyone who services or repairs motor vehicle air conditioning systems for consideration must be trained and certified under Section 609, use EPA-approved equipment, and never intentionally release refrigerant during service.
That’s the core of EPA’s Section 609 requirements, and it pairs with broader Section 608 rules on MVAC servicing that prohibit venting refrigerant into the air. Recovered refrigerant has to be recycled or reclaimed through certified equipment before reuse. In practice, this means you shouldn’t buy small cans of restricted refrigerant and attempt a recharge on your own unless you hold the proper certification.
6. Cost, timeline, and when to stop and call a pro
Diagnostic fees and repair costs vary by shop, refrigerant type, and which part failed, so it’s worth asking for a written estimate before work begins. A simple hose or clamp fix costs far less than replacing a condenser or evaporator core, since the latter involves more labor and part cost.
- Oil residue at a fitting or seam
- A UV dye kit revealing a hidden leak
- Any need for refrigerant recovery, recycling, or recharging
Refrigerant type also affects cost, since older R-12 systems, common R-134a setups, and newer HFO-1234yf systems each require different handling equipment and, in some cases, different parts. Once you hit any of the signs above, DIY checking is done and it’s time for certified service.
7. Best practices and prevention tips
A little seasonal attention goes a long way toward catching a leak before it leaves you sweating through a Texas summer.
- Inspect hoses and fittings each spring for cracking or wear
- Keep the condenser clear of debris and road grime
- Watch for unusual vibration, which can loosen fittings over time
- Avoid topping off refrigerant without first identifying the leak and confirming your system’s refrigerant type
Pro Tip: Keep your photos and service records in one folder. They speed up warranty claims and give your technician useful history at the next visit.
8. Why we recommend certified diagnosis over guesswork
We always encourage owners to gather their own observations first, but a leak that needs recovery or recharging calls for ASE-certified technicians, digital vehicle inspections, and warranty-backed repairs. Bring your photos and notes; they help us move faster once you’re in the bay.
— Kwik Kar
9. Let Kwik Kar of Celina diagnose and fix the leak
Once you’ve done your own checking, Kwik Kar’s AC repair service picks up where you left off, with proper leak detection, EPA-compliant recovery, and a recharge to factory spec. 
- Technicians handle diagnosis and repair
- Vehicle inspections show you what is found
- Repairs carry a warranty for a set period or mileage
- After-hours drop-off is available to fit around your schedule
Bring your notes and photos to your appointment, and browse our full service lineup if you’d like to bundle in other maintenance while you’re here.
Sources
- Section 609 Technician Training and Certification Programs | US EPA
- EPA Section 609 certification guide (refrigerant types) | Lincoln Tech
- Automotive air conditioning leak detection: Understanding your leak detection options | ISNweb
- How to find & fix AC freon leaks | The Home Depot
FAQ
How do I test if my AC has a leak?
Start with a visual check for oily residue at hoses and fittings, then try a soap-bubble test on accessible joints. A UV dye kit can reveal slower or hidden leaks that aren’t visible otherwise, though it won’t catch every leak.
How much does it cost to check for an AC leak?
Diagnostic and repair costs depend on your refrigerant type and which component failed, so pricing varies by shop and situation. Ask for a written estimate before repairs begin; Kwik Kar’s AC repair page is a good place to start that conversation.
Do AC leak detectors really work?
Electronic detectors and UV dye tests both work reasonably well for locating leaks, but neither is foolproof on its own. Consumer how-to guidance notes that sensitivity varies by tool and refrigerant, which is why professional sniffer sweeps often follow up a DIY test.
Does homeowners insurance cover HVAC leaks?
Homeowners insurance typically covers AC damage only when it’s caused by a covered peril like fire or storm damage, not ordinary wear and tear. According to Progressive’s coverage explainer, mechanical breakdown usually needs a separate equipment breakdown endorsement or a home warranty to be covered.